

FUDGY DUTCH-COCOA BROWNIES
These brownies are rich and decadent. If you’re in need of a chocolate fix, they’re the ultimate heavy lifter. If you fall in the cakey brownie camp, I have an alternate recipe for that. This is one recipe where ingredients are key. You can adjust and substitute, but results will vary greatly. American-style butter is not the same as European-style, and Dutch-process cocoa powder is not the same as cocoa powder. Between the fat content and the order of incorporating the ingredients, it’s a delicate balance.
- 6oz (12 tbsp) unsalted European-style butter
- 153g (1/2 cup) fat-free condensed milk
- 60g (1/2 cup) Dutch-process cocoa powder
- 1/2 tsp kosher salt
- 1/2 tsp cinnamon
- 1/2 tsp vanilla
- 150g (3/4) cup brown sugar
- 150g (3/4 cup) white sugar
- 3 egg yolks
- 90g (3/4 cup) of all-purpose, unbleached flour
Preheat oven to 350°F, and line a 9-inch square cake baking pan in parchment with a slight overhang so you can lift the brownies after it’s baked.
In a small saucepan on the lowest heat setting, melt butter. Remove from heat and use a wooden spoon or rubber spatula to stir in the condensed milk and Dutch-process cocoa powder. Once smooth, stir in salt, cinnamon, and vanilla, then pour the mix into a large mixing bowl. You’ll want to let it cool enough so the egg yolks don’t cook when you add them.
Once cooled, stir in sugars until the mixture resembles a concrete-like, greasy mud. Stir in flour incrementally until the mixture is a consistent color and smooth. Finally, mix in the egg yolks. Pour the dough into the parchment-lined baking pan, and use the spoon to push it into the sides and corners. Bake for 25-30 minutes until you see the edges start to caramelize. Remove and let cool in the pan on a cooling rack for roughly 20-30 minutes.
Using the parchment overhang, lift the brownies out of the pan to finish cooling. Resist the urge to cut them. At this point, dust with powdered sugar, cocoa powder, flake salt, or some combination of those. I personally like flake salt as it compliments the rich chocolate. Cut into squares and enjoy.
These brownies are so rich, and though it seems like they’re small, you’ll likely have left-overs. In my opinion, they are more amazing on the second day. To store, put in a Tupperware with the lid sealed only 3/4, or loosely cover with plastic wrap.
NO KNEAD DUTCH OVEN BREAD
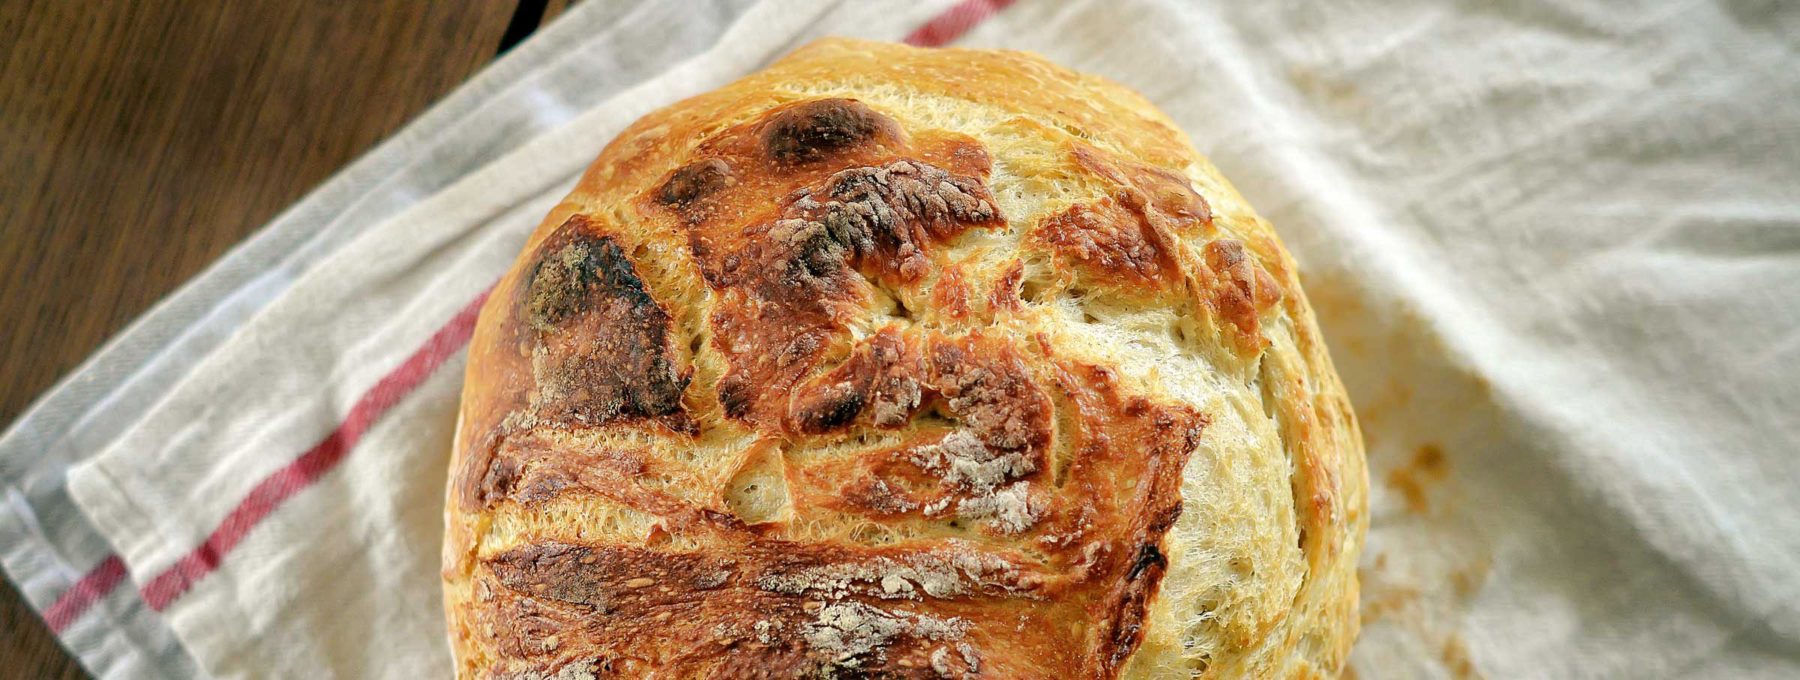
This recipe is ridiculously easy, takes around ten minutes of hands-on time, and waiting. The hardest part is waiting. Trust me, it’s worth every painstaking, idle moment. It produces a heavy, rich loaf that pairs wonderfully with sauces, can be used as a soup or dip bread bowl, or simply rip off pieces to dip in olive oil and vinegar with crushed sea salt sprinkled atop. The lemon peel adds a hint of tang that is delightful. Once you’ve mastered this recipe, it is the perfect playground to try adjusting with other herbs and spices. My personal favorite is lemon peel and rosemary.
- 3 cups (400 grams) all-purpose flour
- 1/2 tsp activated dry yeast
- 3/4 tsp salt
- 1/4 tsp dried lemon peel
- 1 1/2 cup of cold water
Sift flour into a large glass or ceramic kitchen bowl, then sprinkle the yeast and lemon peel across the top. Using a wooden spoon stir in water incrementally. Stop when the dough forms and stops sticking to the sides of the bowl. You may or may not use all the water. The dough should be sticky enough to give you slight anxiety if you had to put your hand in it.
Cover with a kitchen towel, and tuck it in a dark corner, or in your proving drawer, for 12-18 hours, or until doubled in size. In the winter, I normally see this happen in 18 hours and in the summer 12. Err on the long side as it produces the best bake, in my opinion. I’ve also accidentally left the dough for almost 24 hours and it still turned out great.
Once doubled in size, the dough should look bubbly, larger, and have a slight skin on the top. Lay a linen or cotton (non-terry) kitchen towel on a baking sheet and generously sprinkle with flour. With lightly floured hands gently peel the dough out of the bowl onto the middle of the towel. It should be sticky and stringy but resist the urge to add flour. Make into a ball by pulling the dry edges into the center and pinch to seam it closed. With the seam side down, leave it to rise, uncovered, and on the towel for 1-2 hours. If you poke and the dough springs back it’s ready.
In the last 25-30 minutes of the second rise, preheat the oven and a Dutch oven to 475°F. You can sprinkle flour or cornmeal along the inside of your dutch oven, or lay a sheet of parchment inside the bowl.
Once the ovens are preheated, gently pull the outsides of the dough into the center, pinch into a seam once more and carefully put the dough into the Dutch oven, seam up. Cover and bake for 30-35 minutes. Remove the lid and bake another 10 minutes, or until it’s a nice golden brown. The crust will split and curl outwards releasing steam. When the tips of the curls turn dark brown it’s done. Remove from the dutch oven and let it cool uncovered on a kitchen towel. You might be able to hear a very faint crackle as it cools. My favorite part.
You can keep an unsliced loaf wrapped in a kitchen towel for up to two days. Once sliced, store in a ziplock bag with the zipped end unsealed but folded under for up to two days. Ours never lasts that long.